
wilogo


Easy 3D text in coreldraw x4

Hi there wot's up
Today we're going to creat a 3d text with simple tricks in corel draw x4
allso i'll show some very handy trick inside corel draw x4
1- create a new text and double click to access to the transform handles now skew it a litle bit
 now open the advanced outline palette and choose the folowing parametters
TIP:rigth click on the color palette to choose outline color :)...........
 now go to menu dispotion > convert outline to curve
 Now select the new converted outline press + in numpad to duplicate it and with the selected dulicate press one the left arow and one the down arrow to move it one pixel
ok
here is the magic TRICK
hold down the ctrl+D one second and you'll see the resukt
 Don't forget the comments


Creat a custom brush in coreldraw x4
 Hi evry one in this tutorial we're going to create a custom brush using coreldraw x4
HalfTone effect in CorelDraw x4
 Hi every we're going to create a half tone effect using corel draw x4 download the tutorial here
Corel draw quick tips

hi every body here I'm again with a news corel draw tips you learn how to creat retro art shapes using the fish eye tool "sorry i could not upload the video on my blog "
click here to download the tutorial so enjoy it
Music icon Corel draw x4 Tutorials

Hi in this Tutorial we are going to create a music Icon like iTune icon so let start
STEP-1 Create a circle + in the keyboard and hold down the shift and use the intersection tool

now duplicate the object and draw and othe circle in the midle
Select all object and p inthe key board to put them in centre
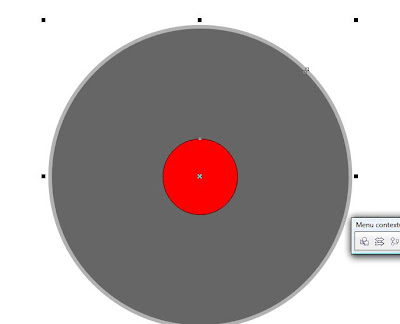
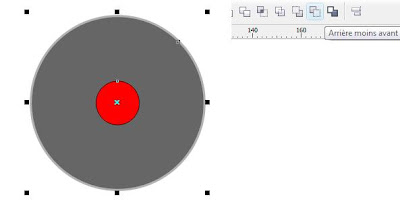
Now select the the small circle and the medium and apply intersection
Now lets color our CD
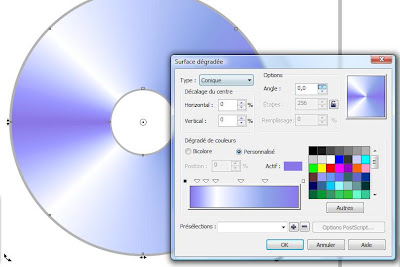
use the gradient tool

STEP-2
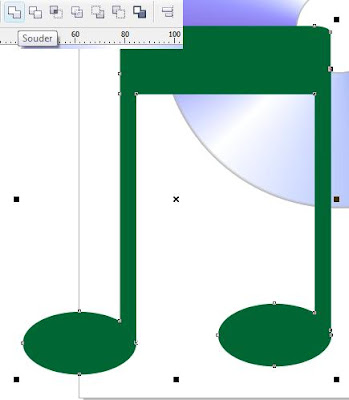
using the 2 oval circls and 3 rectangle we are going to create the second object

Now weld them
Now lets add the light effect
use 2 circle and 3 rectangle

Now add the transparency

now resize it

Done...
Corel Draw Vector package

Hi here is a very nice and usefull Vecotrial packs you can use it in your conseptions so download the CDR file here
Make CorelDraw Appear like Illustrator Cs3

HI .. here a very nice trick you will make your corel draw x4 Appear like illustrator CS3
EDIT>Preference or Ctrl+J

Great now you can work You can feel familiar with coreldraw x4
Pencil Icon Coreldraw x4 Tutorial

In this tutorial we're going to creat a pencil Icon with coreldraw x4 you can download the CDR file her
In this tutorial we will nee just 4 shapes
-3 Rectangles 0, 80, 100 in angles and a triangle like this

now weld the orange and the triangle like this

now let's remove some nods like this

now change the nods to stright mode like this

Now let's use the 0 angle rectangle to creat diffirent parts of our pencil using the intersection

wish you got something like this

now let's colore
use pink and green and black and light orange and grey with gradient

now go back to the other ractangle and chosse white and apply uniform transparency

remove the outlines and your pencil icon is ready

Masking Photo effects CorelDraw x4 Tutorial

Hi .. in this tutorial we're going to make a beutifull photo effect with corel Draw x4 .. us you now most of people use Photoshop for this kind of works but i tried with coreldraw x4 and i did it faster and easyer so. lest start.
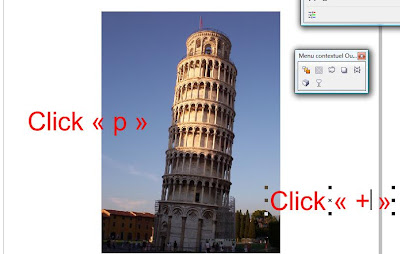
Step-1 open and image in coreldraw x4 click P to put it in the midle of page after click + to duplicate it 6 times ok
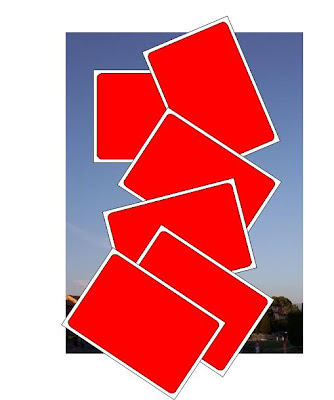
Step-2 Draw a rectangle with 0 in angles + in the keyboard and resize now change the angle to 10

now Duplicate
Step-3
Select one image and menu effect > add to miror

Result
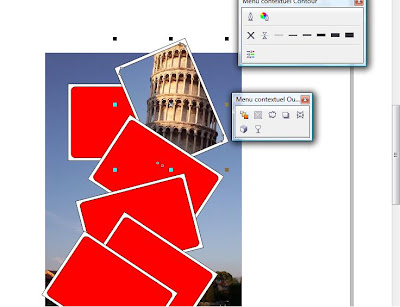
as you see the pic is not in the right place don't worry just click right botton on the pic and chose edit contenent

now select the pic click "p" tp put it in the center and click end edition

Now repeat the same thing with the other rectangles and images when you finish select all the shapes and remove the outlines and i hope you got something like this
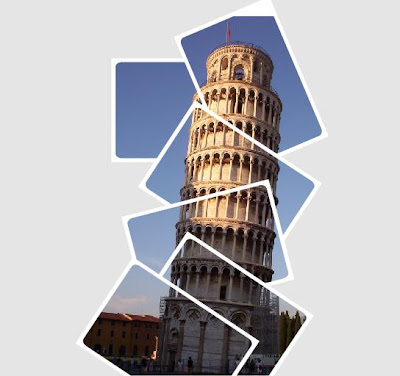
enjoye it..

saving money with 2 colors print process coreldraw x4 advanced skill

Hi in this tutorial we learn how we can save money using 2 colors printing process and how to prepare that and send the PDF format to our printer so download This CDR file and let’s start
==>
When you open the document you will see that I’ve use just 2 colors blue and orange but there is more than 2 colors used in this document to make you sure Click on color Docker Window , lock and chose CMYK color mode (CMYK is The process for industrial multicolor print).. Select the blue shape and you will see that there is more than one color to create this blue (C71, M40, Y0, K0), now select the orange and you’ll find (C0, M80, Y96, K0)
 So how we can change all this colors to 2 colors print process and save the money?
First click on the printer icon we will use its to learn more about color, click on separations icon turn on the print separation and print separation in color and click the print preview you see the printed plates.. now click cancel
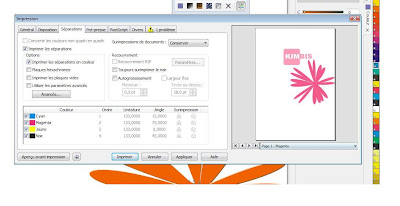
First we need to covert the color and we will need the pantone solid coated and color draw will convert the color.. So select the blue shape and press Shift+F11
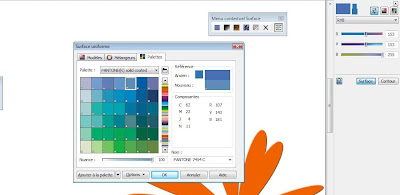
You see that that CorelDraw have automatically chose a color that it believes it is close to the original color.. Press OK
Take this… you can make your own palette color in color draw x 4
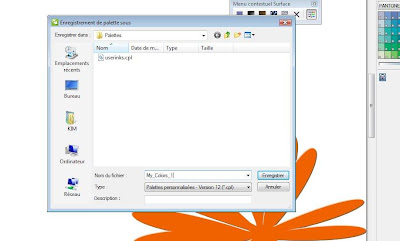
So select the blue shape Window>Color palettes>Create a palette from select
Name it My_Colors_1 and press save
 Now let’s move to the orange circle do same thing, press Shift+F11 ,rather than click ok chose add to My_Colors_1 palette now click add to palette and then ok
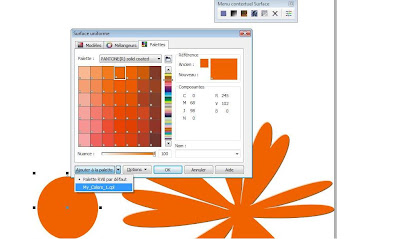
Now we have 2 colors we intend to use
Now select the orange flow and chose the orange from your new color palette
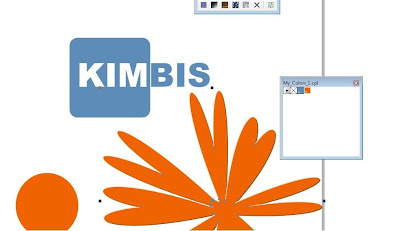
Now Click on the printer Icon to see how many Colors we got
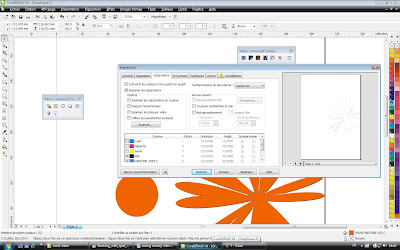
We that Cyan Magenta and yellow had been removed , and we got our two colors ,Ooooooooops there is Black ..We will where it comes from click cancel and back two your space work zoom the flower... Oh it’s the bevel effect. And what we’re going to find her that the bevel effect has add color to our flower and we need the break the bevel effect apart
Go Arrange>Break Bevel Apart
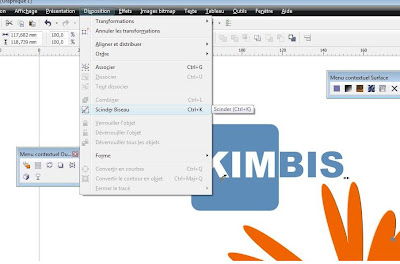 Right click and all ungroup
Now we got 4 shapes remove the grey one.
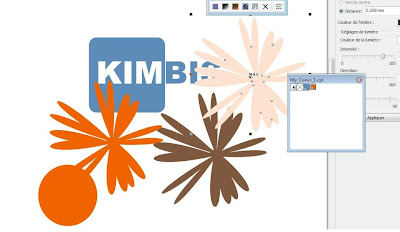
Now select the brown shapes and apply the blue color from our palette
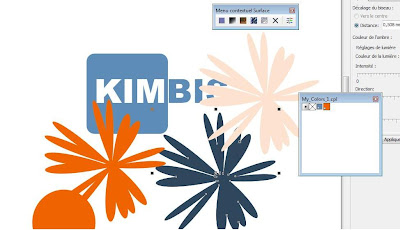
Now select pink shape and apply orange color from our palette
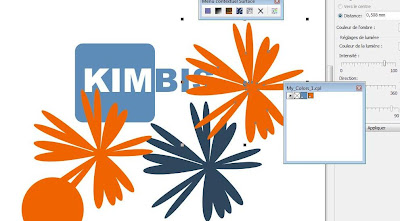
Here a very useful trick in CorelDraw x4 we can make the orange looks like the original pink using the tint just press Shift+F11 and reduce the tint
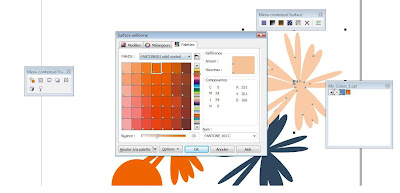
As you see we can create additional colors with tint
Now arrange the shapes and you got your bevel effect using our 2 colors
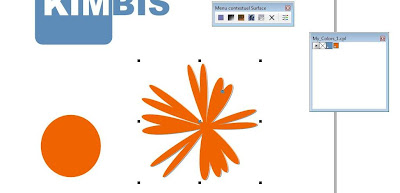
Now let’s check out our colors. Click on printer icon and …………….Voila..!!! We got just our two pantone colors.
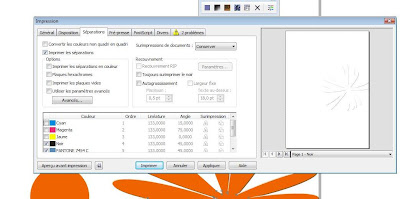
What we have done is creating successfully a print based on 2 colors
I hope you have enjoyed this tutorial...KIMBIS
Inscription à :
Articles (Atom)